Welcome, aspiring mycologists and budget-conscious gardeners, to SmallSpaceGardenPro.com! Have you ever marveled at the intricate beauty of mushrooms and wished you could cultivate your own gourmet or medicinal varieties right in your home, without breaking the bank? You’re in luck! The world of indoor mushroom cultivation is surprisingly accessible and can be incredibly rewarding, even if you’re working with limited space and a tight budget. Forget the notion that growing fungi is a complex, expensive endeavor reserved for scientists – today, we’re demystifying the process and showing you how growing mushrooms indoors can be a fun, sustainable, and highly affordable hobby.
The benefits of homegrown mushrooms are plentiful. You gain access to fresh, organic produce, often much cheaper and higher quality than store-bought options. You can explore unique varieties not commonly found in supermarkets, and there’s immense satisfaction in watching these fascinating organisms develop. This guide will equip you with the knowledge to start your own “Fungi On A Budget” project, covering essential materials and three beginner-friendly, low-cost methods for growing mushrooms indoors. Let’s unlock the secrets to affordable mycology in your small space!
Essential Materials for Your Budget Mushroom Farm
Embarking on your indoor mushroom growing adventure doesn’t require a laboratory-grade setup or a hefty investment. Many necessary items can be sourced cheaply, found around your home, or easily substituted. Here’s a scannable list of what you’ll typically need for various budget-friendly methods:
-
Suitable Containers:
- Plastic Bins or Buckets: Clear or opaque plastic storage totes (e.g., 10-60 quarts) or food-grade buckets (e.g., 5-gallon) are versatile for bulk substrate methods. Look for ones with lids.
- Wide-Mouth Glass Jars: Canning jars (pint or quart size) are essential for methods like PF Tek. They need to withstand sterilization.
- Mushroom Grow Bags: Specialized autoclavable bags with filter patches are great for creating individual substrate blocks, though they can be an added cost compared to basic bins.
- Recycled Containers: For very small experimental grows, thoroughly cleaned large yogurt tubs, ice cream containers, or even sturdy cardboard boxes lined with plastic can be used, though with more risk of contamination.
-
Growth Mediums (Substrates): This is what your mushrooms will feed on.
- Coco Coir & Vermiculite Mix: A popular, relatively inert, and contamination-resistant choice for beginners. Often comes in compressed bricks.
- Straw: Pasteurized straw (from wheat, oats, or rye) is excellent for growing oyster mushrooms and other aggressive species. It needs to be chopped and pasteurized.
- Hardwood Sawdust or Fuel Pellets: Ideal for many gourmet wood-loving mushrooms like Shiitake or Lion’s Mane. Needs supplementation and sterilization. For budget, hardwood fuel pellets (ensure no accelerants) can be cheaper.
- Spent Coffee Grounds: A fantastic free supplement or primary substrate (when mixed with other materials) for oyster mushrooms. Collect from home or local cafes (ensure they are fresh to avoid mold).
- Brown Rice Flour (BRF): A key ingredient for PF Tek, mixed with vermiculite and water.
-
Mushroom Spores or Spawn: This is your “seed.”
- Spore Syringes: Contain mushroom spores suspended in sterile water. Used to inoculate substrates. Choose reputable suppliers.
- Liquid Culture Syringes: Contain live mycelium growing in a nutrient broth. Can colonize faster than spores but may be slightly more expensive.
- Grain Spawn: Sterilized grains fully colonized with mushroom mycelium. Used to inoculate bulk substrates like straw or sawdust. Faster than spores for bulk grows.
- Pre-made Mushroom Grow Kits: The easiest entry point. These come with a fully colonized substrate block ready to fruit.
-
Tools & Supplies:
- Spray Bottle: For misting and maintaining humidity. A fine mist is crucial.
- Thermometer/Hygrometer: To monitor temperature and humidity levels, which are critical for mushroom development.
- Isopropyl Alcohol (70%): For sterilizing surfaces, tools, and your hands. Essential for preventing contamination.
- Gloves & Face Mask: To minimize contamination when working with substrates and spores. Disposable nitrile gloves are good.
- Large Pot or Pressure Cooker: For pasteurizing straw or sterilizing substrates/jars (a pressure cooker is highly recommended for PF Tek and grain sterilization for serious results, but a large pot can be used for steam pasteurization of some bulk substrates).
- Measuring Cups & Spoons: For accurately measuring substrate ingredients.
- Drill or Sharp Tool: For making air exchange holes in bins or lids.
- Micropore Tape or Polyfill: To cover air exchange holes, allowing gas exchange while filtering contaminants.
- Sharp Knife or Scalpel: For taking samples, cutting tape, or harvesting. Sterilize with flame or alcohol.
Now, let’s look at a few specific items you might consider purchasing to get started smoothly.
Featured Product: Beginner Mushroom Grow Kit
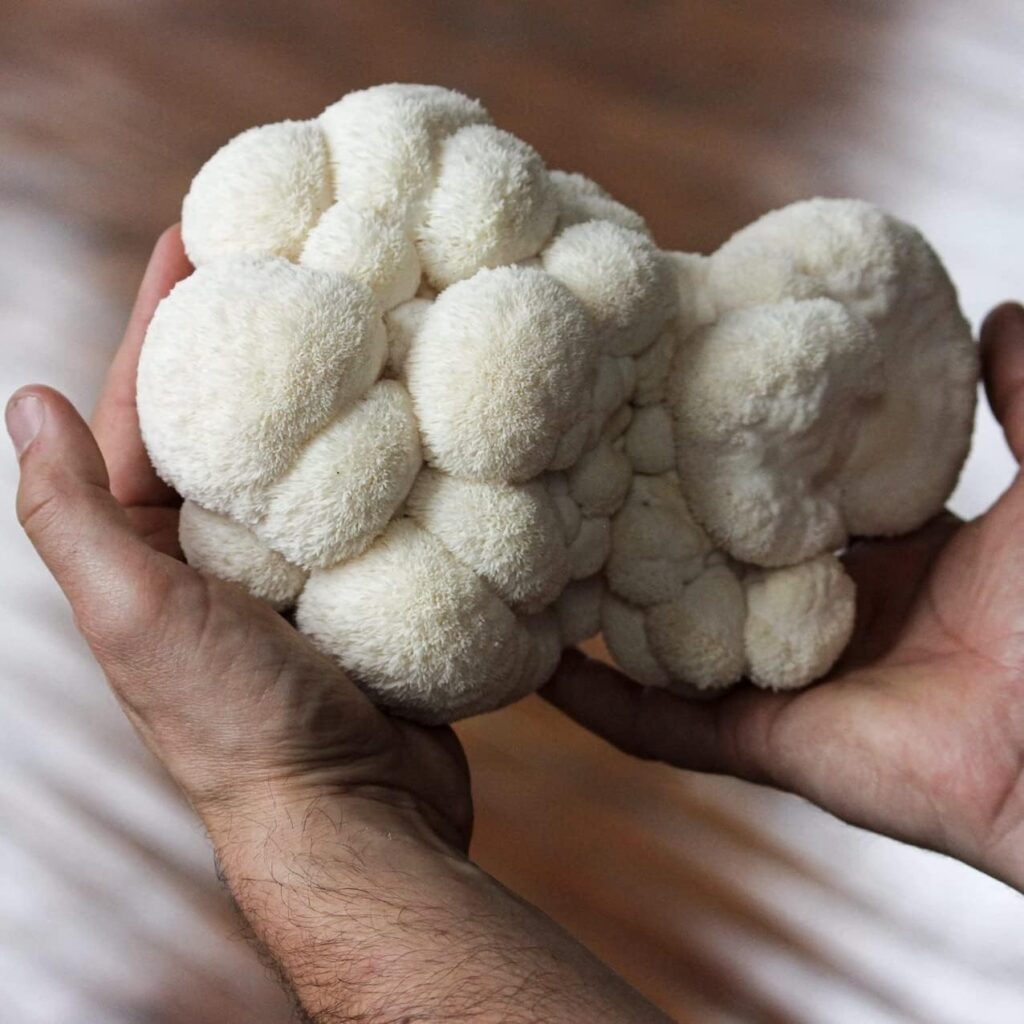
North Spore Lion’s Mane Mushroom Spray & Grow Kit
This kit is an incredibly easy way to dip your toes into mushroom cultivation. It comes with a fully colonized substrate block of Lion’s Mane mushrooms, a spray bottle, and simple instructions. Just open, mist, and watch them grow!
Suggested Use: Perfect for absolute beginners or as a fun project. Place it on a kitchen counter or shelf with indirect light and enjoy fresh gourmet mushrooms in a couple of weeks. This is ideal for Method 1 below.
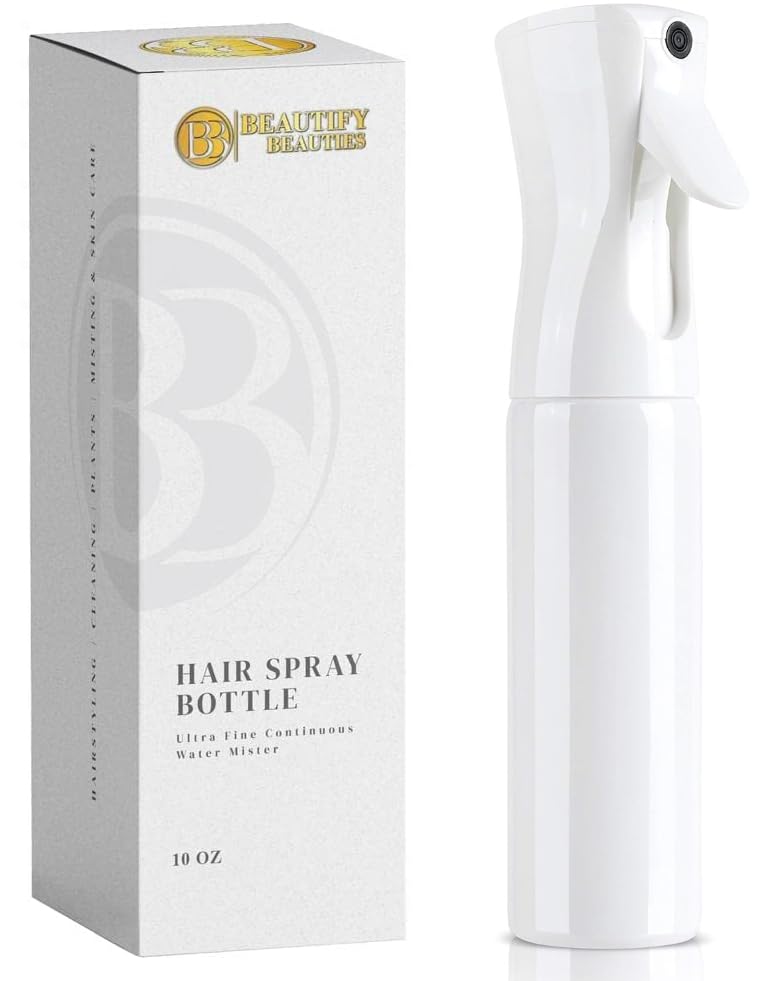
Featured Product: Fine Mist Spray Bottle
Beautify Beauties Hair Spray Bottle – Ultra Fine Continuous Water Mister
While marketed for hair, this type of continuous ultra-fine mister is fantastic for mushroom cultivation. It provides the gentle, even hydration that mushroom pins and fruits need without waterlogging them, which is crucial for preventing bacterial blotch and ensuring healthy development.
Suggested Use: Essential for all indoor mushroom growing methods that require manual misting to maintain humidity around your fruiting blocks or within your fruiting chamber.
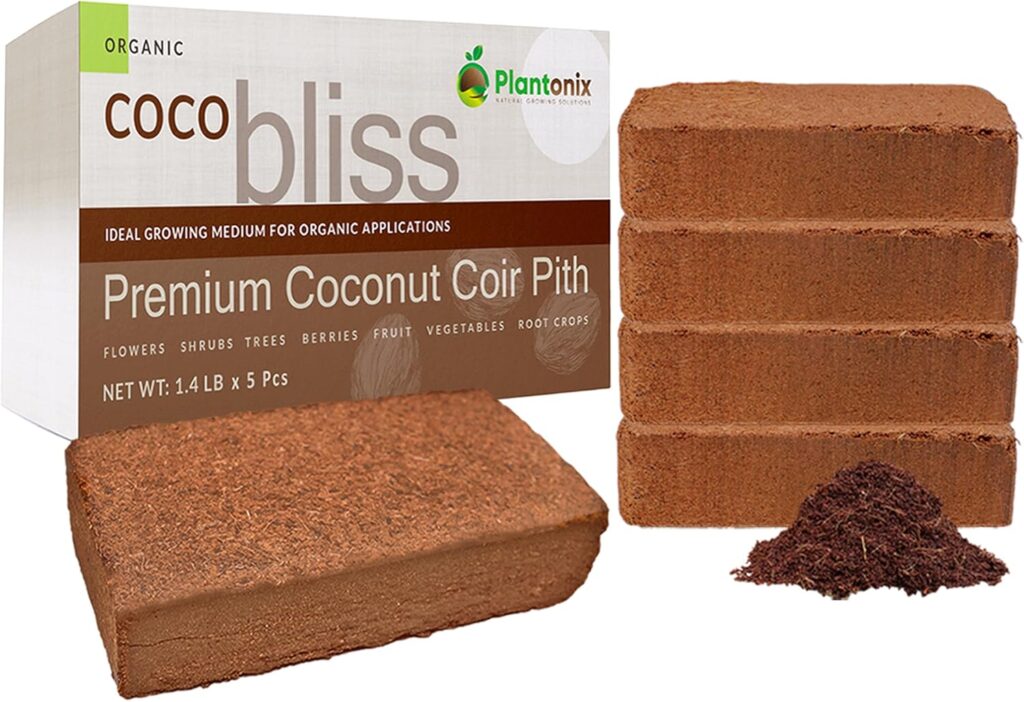
Featured Product: Coco Coir Bricks
Plantonix Coco Coir Brick, OMRI Listed for Organic Use (5 Pack)
Coco coir is a versatile and sustainable substrate base for many types of mushrooms. These compressed bricks expand significantly when water is added, providing a fluffy, moisture-retentive medium that’s relatively resistant to contamination. It’s often mixed with vermiculite and other supplements.
Suggested Use: A core component for DIY substrate recipes, especially when mixed with vermiculite for oyster mushrooms or as a casing layer. Its affordability and ease of use make it great for budget grows.
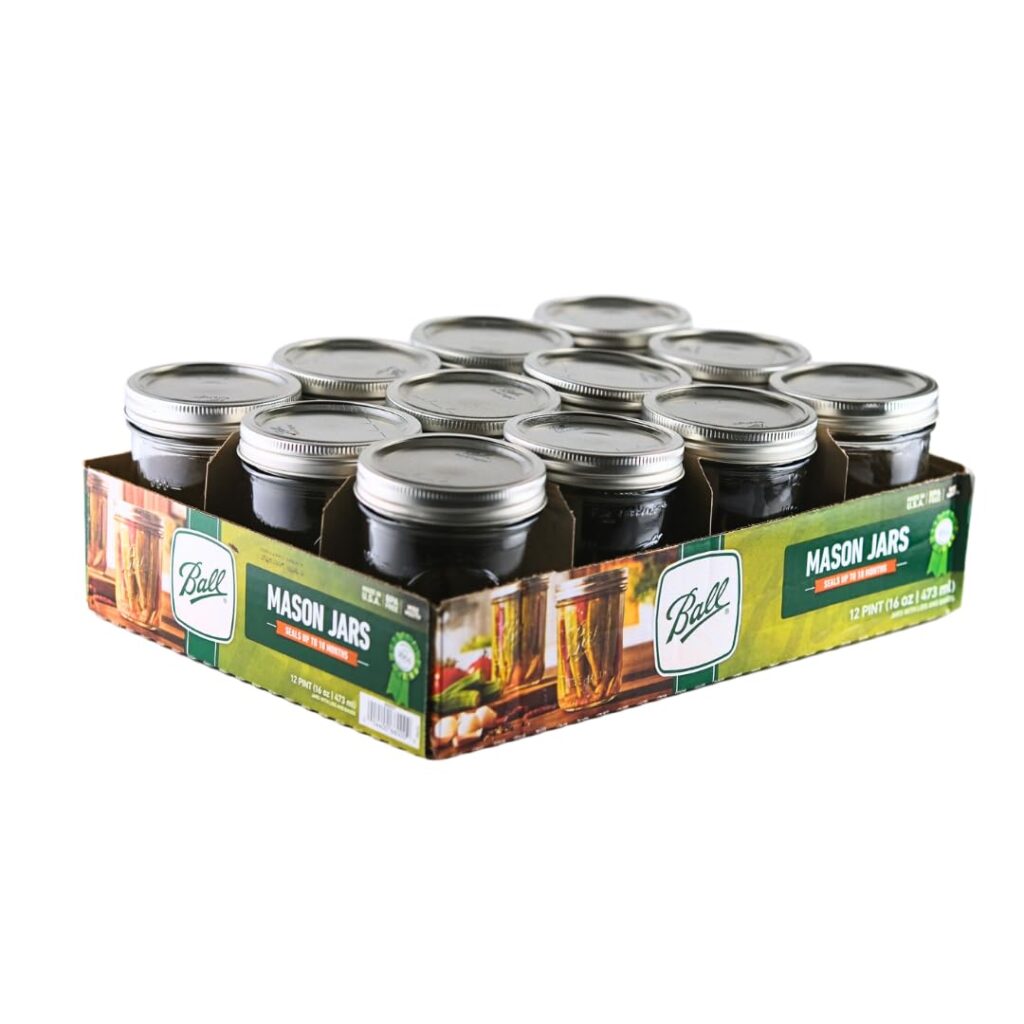
Featured Product: Wide Mouth Mason Jars
Ball Wide Mouth Pint 16-Ounce Mason Jars with Lids and Bands (12 Count)
These classic canning jars are the go-to for the PF Tek method and for creating small batches of grain spawn. Their wide mouths make them easier to work with, and they are designed to withstand the sterilization process in a pressure cooker or steam bath.
Suggested Use: Essential for anyone attempting the PF Tek (Method 3 below) for growing species like Psilocybe cubensis (where legal) or gourmet mushrooms adapted to this technique. Also useful for sterilizing small amounts of grain.
3 Budget-Friendly Indoor Mushroom Growing Methods for Beginners
Now that you have an idea of the materials, let’s explore three distinct methods for growing mushrooms indoors on a budget. Each has its pros, cons, and suitability for different types of mushrooms and commitment levels.
Method 1: The Effortless Start – Using a Pre-made Mushroom Grow Kit
This is, without a doubt, the simplest and most foolproof way to get started with indoor mushroom cultivation, making it perfect for absolute beginners or those wanting quick, reliable results with minimal fuss.
Overview: Mushroom grow kits typically consist of a block of substrate (like sawdust or straw) that has already been sterilized and fully colonized by mushroom mycelium (the vegetative part of the fungus). Your job is simply to provide the right conditions for it to “fruit” – produce mushrooms.
Spores/Species to Use: Kits are commonly available for easy-to-grow and delicious varieties like:
- Oyster Mushrooms (Pleurotus ostreatus): Come in various colors (pink, blue, yellow, pearl). Very forgiving and productive.
- Lion’s Mane (Hericium erinaceus): Unique, tooth-like appearance and a seafood-like taste. Also known for potential cognitive benefits.
- Shiitake (Lentinula edodes): Popular gourmet mushroom, though kits might require a bit more specific conditions (like a “cold shock”).
Step-by-Step Instructions:
- Unpack the Kit: Carefully read the instructions provided with your specific kit, as they can vary slightly. Generally, you’ll remove the colonized block from its packaging.
- Activate/Prepare the Block: Some kits require you to cut slits or an ‘X’ into the plastic bag containing the block, or to soak the block for a short period. Follow the kit’s directions precisely.
- Create Fruiting Conditions: Place the block in an area with indirect light (a kitchen counter away from direct sun is often fine) and good humidity. Ideal temperatures are usually between 60-75°F (15-24°C), but check your kit’s specifics.
- Maintain Humidity: This is key! Mist the block and the inside of the humidity tent (if provided) or the surrounding area 2-5 times a day with your fine mist spray bottle. The surface of the block should remain moist, and you should see tiny water droplets, but it shouldn’t be waterlogged. Some kits come with a small plastic tent to help retain humidity.
- Provide Air Exchange: Mushrooms “breathe” oxygen and release CO2. Ensure there’s some gentle air exchange. If using a humidity tent, fan it a couple of times a day.
- Watch for Pinning: Within 3-14 days (depending on species and conditions), you should see tiny baby mushrooms (pins) forming. This is an exciting moment!
- Mushroom Development: Continue misting. The mushrooms will grow rapidly from this stage, often doubling in size each day.
- Harvest: Oyster mushrooms are typically harvested when the caps start to flatten or curl upwards slightly. Lion’s Mane is harvested when the “teeth” or spines are well-developed and before it starts to yellow or dry. Harvest by gently twisting and pulling the cluster from the block, or cutting close to the base with a clean knife.
Timeline:
- Pinning: 3-14 days after setup.
- Harvest: Typically 5-10 days after pinning for the first flush.
- Multiple Flushes: Many kits can produce 2-3 flushes (harvests) of mushrooms, with decreasing yields each time. After the first harvest, continue to maintain humidity; some kits suggest rehydrating the block.
Maintenance Steps:
- Consistent misting to maintain high humidity (often 80-95%).
- Providing gentle, fresh air exchange.
- Maintaining appropriate temperatures.
Common Beginner Mistakes with Kits:
- Under-misting/Low Humidity: Leads to pins drying out or mushrooms cracking. This is the most common issue.
- Over-misting/Waterlogging: Can cause bacterial blotch or invite mold. Use a fine mister.
- Not Enough Fresh Air: Can result in long stems and small caps.
- Direct Sunlight: Can dry out or overheat the block.
- Giving Up Too Soon: Some kits take a bit longer to pin, especially if conditions aren’t perfect. Be patient and consistent.
Expected Yields:
- Highly variable depending on the kit size, mushroom species, and conditions.
- A typical small kit (e.g., 5-10 lb block) might yield 0.5 to 2 lbs of fresh mushrooms over 2-3 flushes.
Budget Friendliness: Kits range from $20-$40. While it’s more per pound than DIY methods, the convenience, low failure rate for beginners, and inclusion of all specialized materials make it a good value to start and learn the basics of the mushroom life cycle.
Method 2: DIY Adventures – Plastic Bins and Pasteurized Straw (Oyster Mushrooms)
This method is a step up from kits and a fantastic budget-friendly way to grow larger quantities of aggressive mushroom species like Oyster mushrooms. It involves pasteurizing your own substrate (straw) and inoculating it with grain spawn.
Overview: You’ll create a simple fruiting chamber from a plastic bin and cultivate mushrooms on pasteurized straw. This is often called the “straw log” or “bucket tek” (if using buckets) method.
Spores/Species to Use:
- Oyster Mushrooms (Pleurotus spp.): Ideal for this method. Pearl, blue, pink, yellow, and king oysters all perform well on straw. You’ll use grain spawn of your chosen oyster variety, not spores directly on the straw.
Step-by-Step Instructions:
- Prepare the Straw:
- Chop your straw into 1-3 inch pieces (if not already chopped). This increases surface area.
- Pasteurize the straw:
- Hot Water Bath: Submerge the chopped straw in a large pot of water heated to 160-180°F (70-82°C) for 1-2 hours. A mesh bag or pillowcase can help contain the straw. Do not boil.
- Cold Water Lime Soak (Optional, more advanced): Soaking straw in hydrated lime solution for 12-24 hours.
- Drain the straw thoroughly. It should be moist but not dripping wet. When you squeeze a handful, only a few drops of water should come out (this is called “field capacity”).
- Prepare Your Bin/Bucket:
- If using a plastic bin or bucket, drill several 1/4 to 1/2 inch holes around the sides and possibly a few in the bottom for drainage and air exchange. The number and spacing of holes depend on the bin size; aim for holes every 4-6 inches.
- Clean the bin thoroughly with soap and water, then wipe down with 70% isopropyl alcohol.
- Inoculation (Mixing Spawn with Straw):
- Work in a clean area. Wipe down your work surface and hands with alcohol. Wear gloves and a mask.
- Break up your oyster grain spawn thoroughly in its bag.
- In a clean tote or on a clean surface, layer the pasteurized straw and grain spawn, mixing them well. A common spawn rate is 5-10% spawn to wet substrate weight (e.g., 1 lb spawn for 10-20 lbs wet straw). Ensure even distribution.
- Pack the Container:
- Tightly pack the straw/spawn mixture into your prepared bin or bucket. This helps initiate good mycelial connections.
- Colonization (Incubation):
- Place the lid on the bin (it doesn’t need to be airtight, some gas exchange is good). If using a bucket, you might cover the top with plastic wrap with a few small holes.
- Keep the bin in a dark, clean place with a stable temperature, ideally between 70-75°F (21-24°C) for oyster mushroom mycelium to colonize the straw.
- Colonization can take 1-3 weeks. You’ll see white mycelium spreading throughout the straw. The straw should eventually look mostly white and smell like fresh mushrooms.
- Initiate Fruiting:
- Once fully colonized, move the bin to fruiting conditions: indirect light, high humidity (85-95%), fresh air exchange, and slightly cooler temperatures (60-70°F or 15-21°C is often ideal for oyster fruiting).
- Mushrooms will start to “pin” (form tiny mushrooms) out of the drilled holes.
- Maintain Fruiting Conditions:
- Mist the outside of the bin near the holes and the developing mushrooms 2-3 times a day with your fine mist spray bottle. Avoid spraying pins directly with a harsh jet.
- Ensure good fresh air exchange by fanning the area or ensuring the room has some ventilation. Oysters need a lot of fresh air when fruiting.
- Harvest: Harvest oyster mushrooms when the caps begin to flatten or the edges start to curl up. Twist and pull the entire cluster.
Timeline:
- Straw Pasteurization & Inoculation: 1 day.
- Colonization: 1-3 weeks.
- Pinning: 5-10 days after moving to fruiting conditions.
- Harvest: 3-7 days after pinning.
- Multiple Flushes: Expect 2-4 flushes, a week or two apart.
Maintenance Steps:
- Maintaining high humidity during fruiting is crucial.
- Providing ample fresh air exchange (FAE).
- Keeping the colonization area clean and at the right temperature.
Common Beginner Mistakes:
- Contamination during Pasteurization/Inoculation: Straw not pasteurized correctly, or unhygienic practices during inoculation. Green, black, or orange molds are bad news.
- Substrate Too Wet or Too Dry: Incorrect moisture content after pasteurization.
- Insufficient Fresh Air Exchange during Fruiting: Leads to long stems and tiny caps, or pinning failure.
- Low Humidity during Fruiting: Pins dry out.
Expected Yields:
- Biological efficiency can be 50-150% (meaning you can get 0.5 to 1.5 lbs of fresh mushrooms per 1 lb of dry straw used, over all flushes).
- A 5-gallon bucket packed with straw might yield 2-5 lbs of mushrooms over several flushes.
Budget Friendliness: This is very budget-friendly once you have a reusable bin/bucket. Straw can be cheap or free (check local farms), and grain spawn can be bought or even made (more advanced). The main recurring cost is spawn. This method allows for significantly larger harvests per dollar spent compared to kits.
Conclusion: Your Frugal Fungi Adventure Awaits!
As you’ve discovered, growing mushrooms indoors doesn’t need to be an expensive or overly complicated pursuit. Whether you start with an ultra-simple kit, venture into DIY straw logs, or experiment with the classic PF Tek, the journey of cultivating your own fungi is filled with learning and delicious rewards. By embracing budget-friendly materials and techniques, you can enjoy a sustainable supply of fresh mushrooms right from your small space.
The key to success, especially on a budget, is patience, cleanliness, and a willingness to learn from each attempt. Don’t be discouraged by early challenges; even experienced mycologists face them. Start small, follow instructions carefully, and soon you’ll be harvesting your own amazing fungi!
We hope this guide has inspired you to embark on your own “Fungi On A Budget” project. What method are you most excited to try? Share your thoughts or questions in the comments below!
For more innovative ideas on making the most of your limited space, be sure to explore our other articles on container gardening, composting, and vertical growing. Happy cultivating!


Leave a Reply