Sunday How-To: Grow Sweet Basil Indoors Like a Pro
Welcome to another edition of “Sunday How-To” here at SmallSpaceGardenPro.com! Our goal with this series is to provide you with simple, rewarding gardening projects you can tackle over the weekend, helping you bring more green into your life, no matter how compact your living space. This Sunday, we’re diving into one of the most beloved and versatile herbs: Sweet Basil. Imagine the delightful aroma filling your kitchen and the unparalleled taste of freshly picked leaves in your favorite dishes – it’s easier than you think!
Sweet Basil (Ocimum basilicum) is a fantastic starting point for aspiring indoor gardeners. It’s relatively easy to care for, incredibly productive, and its uses extend far beyond just a simple garnish. From classic Italian pestos and vibrant Caprese salads to aromatic Thai curries and refreshing summer drinks, fresh basil elevates any culinary creation. Beyond its kitchen prowess, basil also boasts some surprising health benefits, making it a truly multi-functional plant for your indoor garden. So, grab a cup of tea, and let’s get ready to transform a sunny spot in your home into a mini basil farm this weekend!
More Than Just Flavor: Key Benefits of Growing Sweet Basil
Growing your own Sweet Basil means you have a constant supply of fresh, organic leaves, free from pesticides and bursting with flavor. But the advantages don’t stop there. This aromatic herb is also packed with compounds that can contribute to your overall well-being:
- Rich in Antioxidants: Sweet Basil contains a wealth of antioxidants, such as eugenol, linalool, and anthocyanins. These powerful compounds help protect your body’s cells from damage caused by free radicals, which can contribute to aging and various chronic diseases.
- Anti-inflammatory Properties: Certain compounds in basil, like eugenol, have demonstrated anti-inflammatory effects, similar to those found in some over-the-counter pain relievers. Incorporating fresh basil into your diet may help soothe inflammation in the body, potentially benefiting conditions like arthritis or inflammatory bowel issues.
- Digestive Aid & Stress Reducer: Traditionally, basil has been used to calm the stomach, aid digestion, and reduce gas or bloating. Its aroma is also considered uplifting and can have a mild adaptogenic effect, helping the body cope with stress and promoting a sense of calm and mental clarity.
- Good Source of Vitamins and Minerals: Fresh basil is a good source of Vitamin K, essential for blood clotting and bone health. It also provides Vitamin A, manganese, and magnesium, contributing to a healthy, balanced diet.
By cultivating basil indoors, you’re not just growing an ingredient; you’re nurturing a plant that gives back in flavor, aroma, and health.
Your Step-by-Step Guide to Indoor Basil Success
Ready to get your hands dirty (just a little!) and start your indoor basil adventure? Follow these simple steps for a thriving plant.
Step 1: Choosing the Right Basil Variety
While “Sweet Basil” is a great all-rounder, there are several types well-suited for indoor growing:
- Sweet Basil (Genovese Basil): This is the classic Italian basil with large, tender, aromatic leaves, perfect for pesto and most culinary uses. It’s a popular choice for beginners.
- Bush Basil (Spicy Globe Basil): Forms a compact, rounded bush, making it ideal for smaller pots and windowsills. It has smaller leaves and a slightly spicier flavor.
- Thai Basil: Distinctive anise-clove flavor and aroma, with purple stems and sturdy leaves. Excellent for Asian dishes.
For your first indoor basil farm, starting with a classic Sweet Basil or a compact Bush Basil is often the easiest path to success.
Step 2: Selecting Containers and Soil
Basil needs good drainage and enough room for its roots to develop.
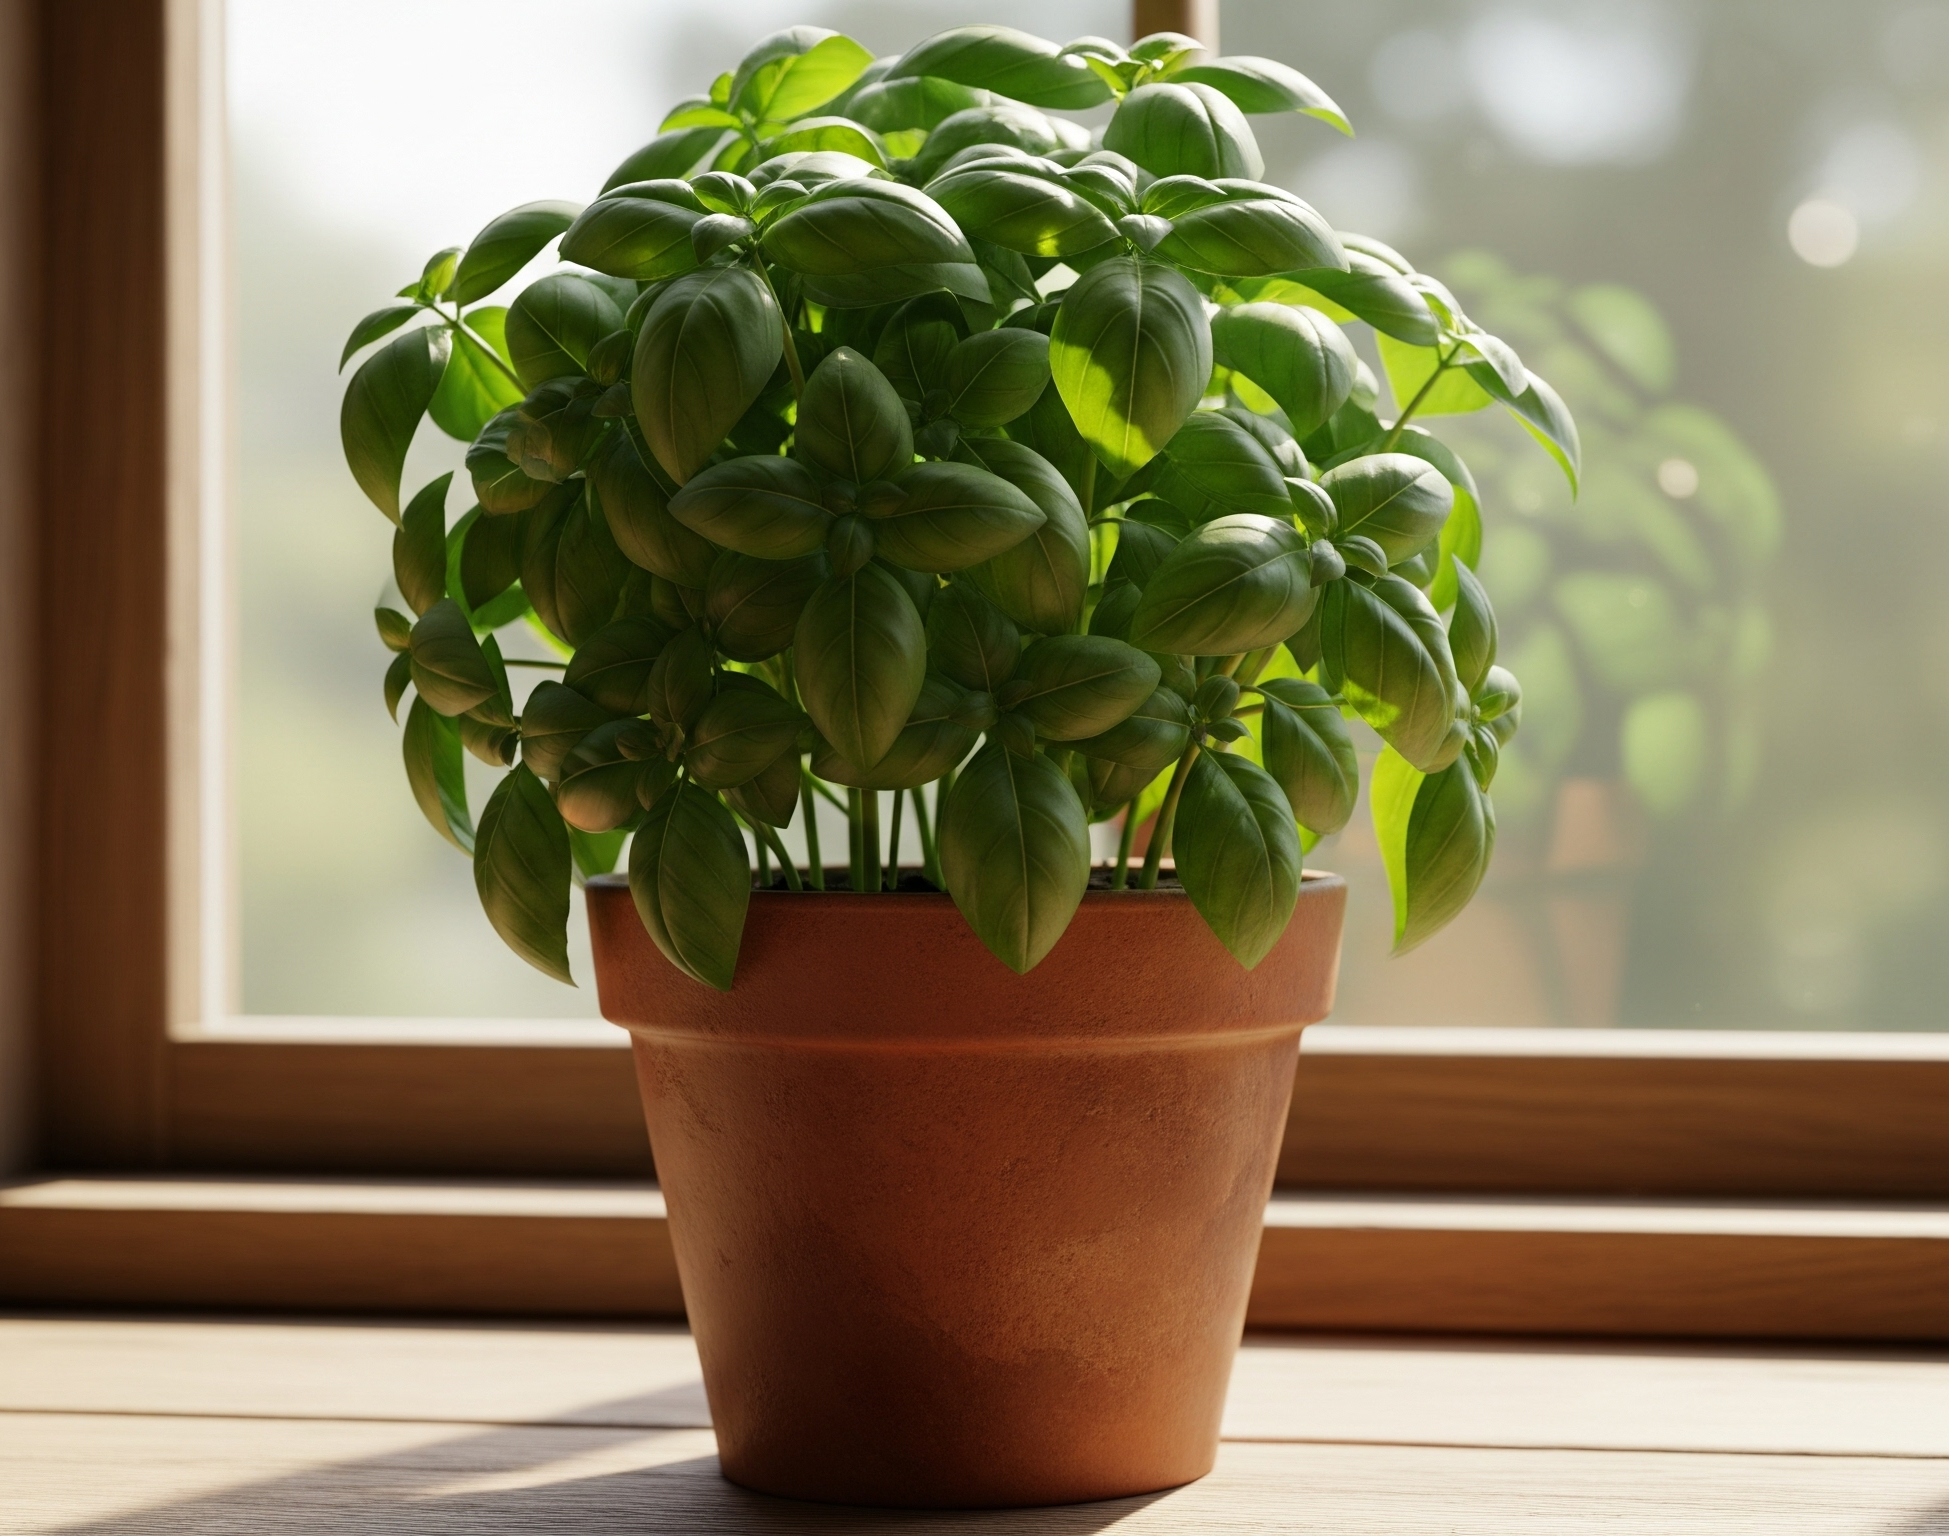
- Containers: Choose a pot that is at least 6-8 inches in diameter and depth for a single basil plant. Ensure it has excellent drainage holes at the bottom. Terracotta pots are great as they allow for good air circulation and moisture wicking, but plastic or glazed ceramic pots also work well (just be mindful of watering).
- Soil: Use a high-quality, well-draining potting mix. Do not use garden soil from your yard, as it can be too dense, compact easily, and may harbor pests or diseases. Look for a mix designed for containers or herbs, often containing peat moss, perlite, and vermiculite. Adding a bit of organic compost can also boost nutrients.
Step 3: Planting Seeds or Transplanting Starts
You have two main options for starting your basil:
- From Seeds: Basil seeds are small and germinate relatively easily.
- Fill your chosen pot with pre-moistened potting mix, leaving about an inch of space from the rim.
- Sow 2-3 seeds per pot, about 1/4 inch deep. If planting multiple seeds in a larger pot, space them a few inches apart.
- Gently cover with soil and lightly water.
- Keep the soil consistently moist and warm (70-75°F or 21-24°C is ideal). Seeds should germinate in 5-10 days.
- Once seedlings have a couple of sets of true leaves, thin them to the strongest one per pot if you sowed multiple.
- From Starts (Seedlings): Purchasing a small basil plant from a nursery or garden center is a quicker way to get started.
- Gently remove the seedling from its original container, being careful not to damage the roots.
- Place it in your prepared pot at the same depth it was growing previously.
- Fill in around the root ball with potting mix, gently firming the soil.
- Water thoroughly.
For an all-in-one solution that’s perfect for beginners, consider a starter kit.
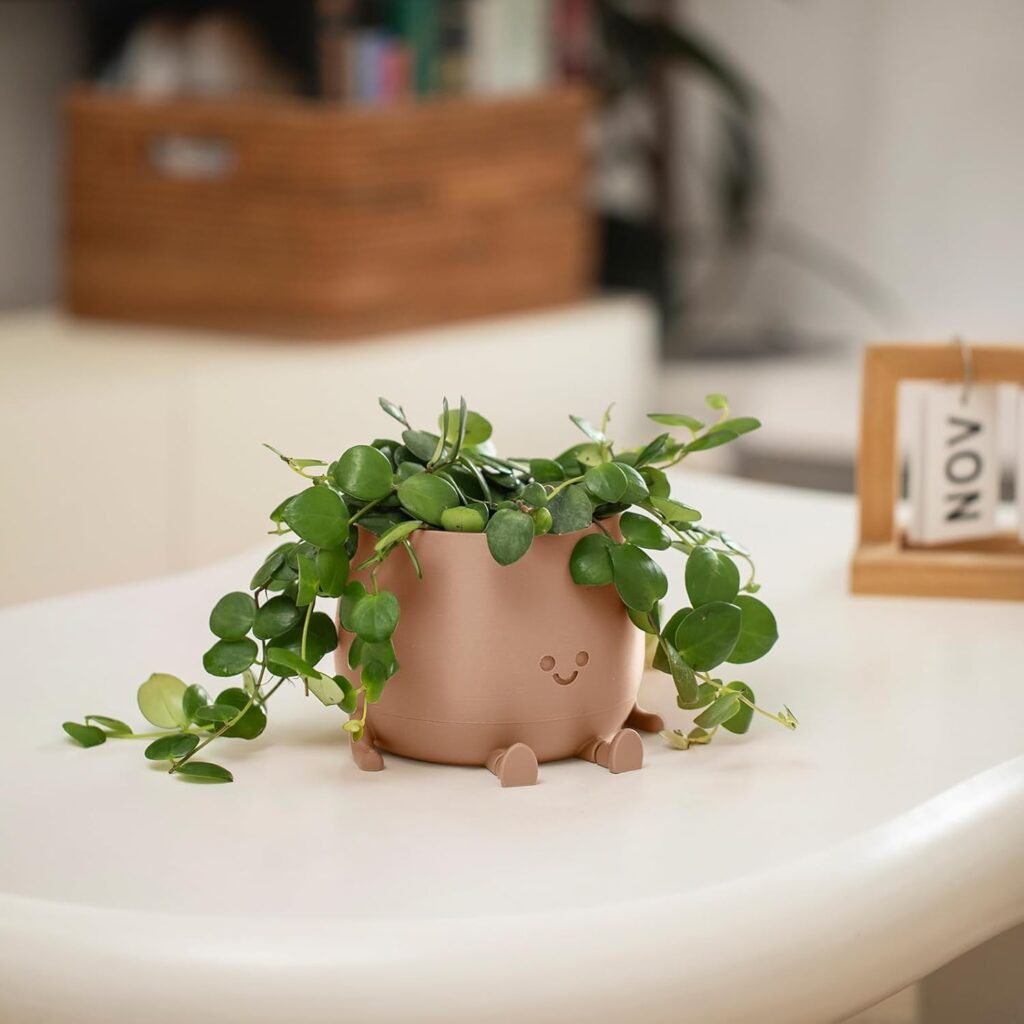
Recommended Product: TOPOLA Happy Face Planter
Keeping an indoor plant hydrated and happy can be a challenge, even for the most seasoned gardener. A day or two that your little green buddy slips your mind and suddenly you have a problem. Let a self watering pot give you a hand, sitting happily in your window!.
Step 4: Sunlight and Water Requirements
- Sunlight: Basil is a sun-worshipper! It needs at least 6-8 hours of direct sunlight per day to thrive and develop the best flavor. A south-facing windowsill is ideal. If you don’t have enough natural light, you’ll need to supplement with a grow light (more on this later).
- Watering: Keep the soil consistently moist, but not waterlogged or soggy. Basil does not like to dry out completely between waterings. Water thoroughly when the top inch of soil feels dry to the touch. Aim to water the soil directly, avoiding wetting the leaves too much, especially in humid conditions, to prevent fungal issues. Ensure excess water can drain away freely.
Step 5: Ideal Temperatures and Humidity
- Temperature: Basil loves warmth. Ideal daytime temperatures are between 70-85°F (21-29°C). It’s sensitive to cold and can be damaged by temperatures below 50°F (10°C). Keep it away from cold drafts or windows in winter.
- Humidity: Basil appreciates moderate to high humidity. If your indoor air is very dry (common in winter with heating), you can increase humidity by misting the plant occasionally, placing it on a pebble tray with water, or using a small humidifier nearby.
Step 6: How and When to Prune (Pinching for Bushiness!)
Pruning is key to a happy, bushy basil plant and a continuous harvest!
- First Pruning: Once your basil plant has 3-4 sets of true leaves (not counting the initial two seed leaves, or cotyledons), it’s time for its first “pinch.” Locate the top central growing tip and snip or pinch it off just above a set of leaves. This encourages the plant to send out side shoots from the leaf axils below the cut, making it bushier.
- Ongoing Pruning/Harvesting: Continue to prune or harvest regularly. Always cut or pinch just above a pair of leaves. This is where new growth will emerge.
- Prevent Flowering: Basil’s primary goal is to produce flowers and seeds. If you see flower spikes starting to form at the tips of the stems, pinch them off immediately. Once basil flowers, leaf production slows down, and the flavor of the leaves can become more bitter.
Step 7: Fertilizing and Feeding Basil
While basil isn’t a super heavy feeder, plants grown in containers will eventually use up the nutrients in the potting mix.
- After about 4-6 weeks of growth, or if you notice pale leaves or slow growth, you can start feeding your basil.
- Use a balanced, all-purpose liquid fertilizer (organic options like fish emulsion or seaweed extract are great for edibles) diluted to half-strength.
- Feed every 2-4 weeks during the active growing season (spring and summer). Reduce or stop fertilizing in the fall and winter when growth naturally slows.
- Always water your basil before fertilizing to avoid burning the roots.
Step 8: Ongoing Care and Troubleshooting
- Rotation: If your basil is on a windowsill, rotate the pot every few days so all sides get even light exposure.
- Pests: Indoors, basil is less prone to pests, but occasionally aphids or whiteflies might appear. Inspect your plant regularly. If you see pests, you can often wash them off with a gentle spray of water or treat with insecticidal soap.
- Diseases: Overwatering or poor air circulation can lead to fungal issues like powdery mildew. Ensure good drainage, water at the soil level, and provide some air movement if possible.
- Yellowing Leaves: Can be a sign of overwatering, underwatering, nutrient deficiency, or insufficient light. Assess your care routine.
Top 3 Placement Spots for Your Indoor Basil
Finding the perfect spot for your basil plant is crucial for its health and productivity. Here are three ideal locations in a typical home, keeping its love for sun in mind:
-
The Sunny South-Facing Windowsill: This is prime real estate for sun-loving herbs like basil. A south-facing window typically receives the most direct sunlight throughout the day (at least 6 hours), providing the energy basil needs for lush growth and optimal flavor development. Ensure the windowsill is wide enough to securely hold the pot and that the plant isn’t touching cold glass in winter.
-
A Bright Kitchen Counter (Near a Window or with Supplemental Light): What could be more convenient than having fresh basil right where you cook? If you have a kitchen counter that gets plenty of bright, direct sunlight from a nearby south or west-facing window, it’s an excellent spot. If natural light is limited, this is where a dedicated grow light comes in handy.
-
A Sheltered, Sun-Drenched Balcony or Patio Spot: If you have a balcony, patio, or deck that receives ample sunlight, basil will thrive outdoors in a container during warmer months. Choose a spot that offers some protection from strong winds, which can dry out and damage the tender leaves. Ensure the container can drain freely and won’t be waterlogged during rain.
If your home lacks naturally sunny spots, don’t despair! A good quality LED grow light can effectively supplement or even replace sunlight, allowing you to grow basil successfully almost anywhere indoors.
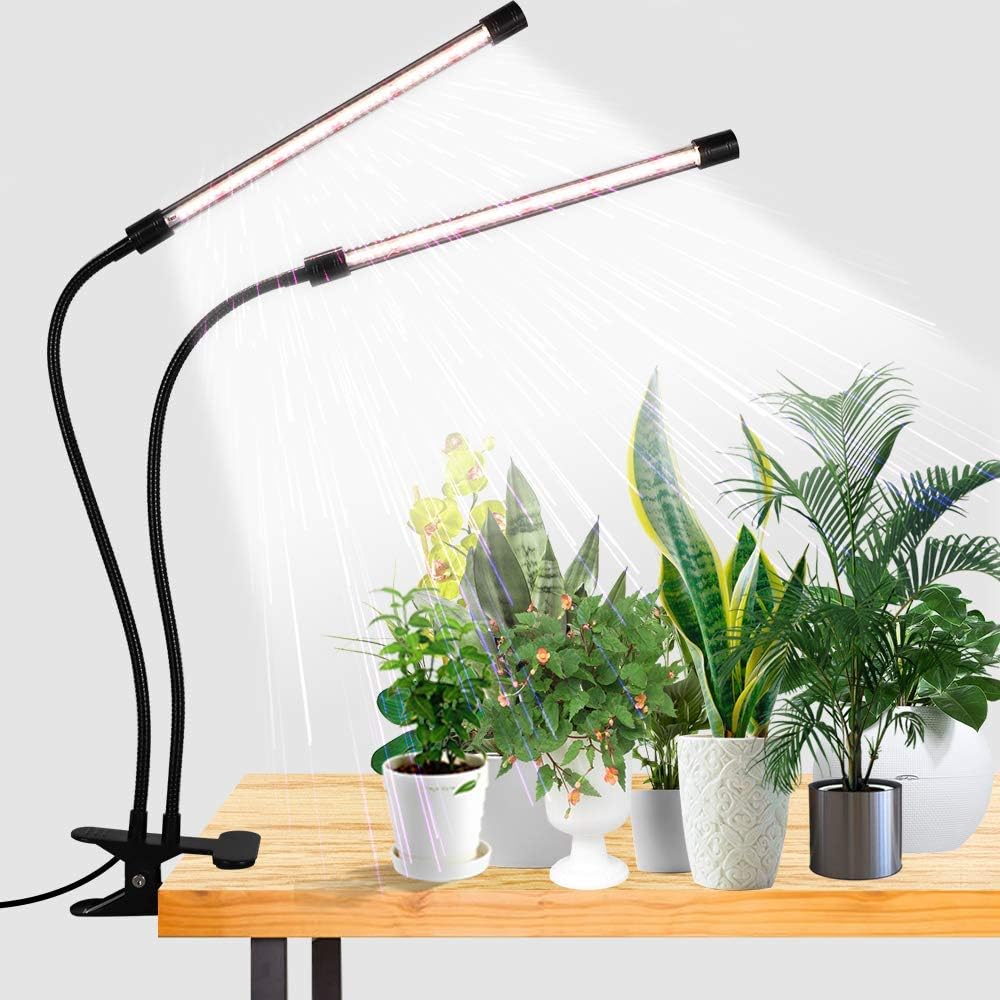
Recommended Product: Adjustable LED Grow Light for Herbs
I can whole-heartedly recommend these little clip on grow lights for your herbs. I use these to grow year-round in my house, even during the darker winter months. I’ve even been able to use these and grow herbs in my pantry! These feed your plants all the light they need and can be put just about anywhere.
Tips for Harvesting & Cooking with Your Fresh Basil
The best part of growing your own basil is enjoying its incredible flavor! Proper harvesting encourages more growth and ensures you get the tastiest leaves.
How to Harvest Without Harming the Plant:
- Harvest Regularly: Once your plant is about 6-8 inches tall and has several sets of leaves, you can start harvesting. Regular harvesting actually encourages the plant to become bushier and more productive.
- Pinch or Snip: Use your fingers to pinch off leaves or small stems, or use clean, sharp scissors.
- Cut Above a Leaf Node: When harvesting a stem section, always make your cut just above a pair of leaves (a leaf node). New shoots will grow from these nodes.
- Don’t Take Too Much: Never remove more than one-third of the plant’s total foliage at any one time. Leave plenty of leaves for photosynthesis and continued growth.
- Harvest from the Top: Focus on harvesting from the top parts of the plant to encourage outward, bushy growth rather than letting it get tall and leggy.
Flavor Pairing Ideas:
Sweet Basil is incredibly versatile. Here are some classic and creative pairings:
- Classic Italian: Tomato (Caprese salad, pasta sauces, bruschetta), mozzarella, garlic, olive oil, Parmesan.
- Fruit Pairings: Strawberries, watermelon, peaches, lemon, lime. (Basil-infused lemonade is amazing!)
- Vegetable Companions: Zucchini, eggplant, bell peppers, corn.
- Proteins: Chicken, fish, shrimp.
- Other Herbs: Oregano, parsley, thyme (in moderation).
Using the right tools can make harvesting and preparing your fresh herbs even easier.
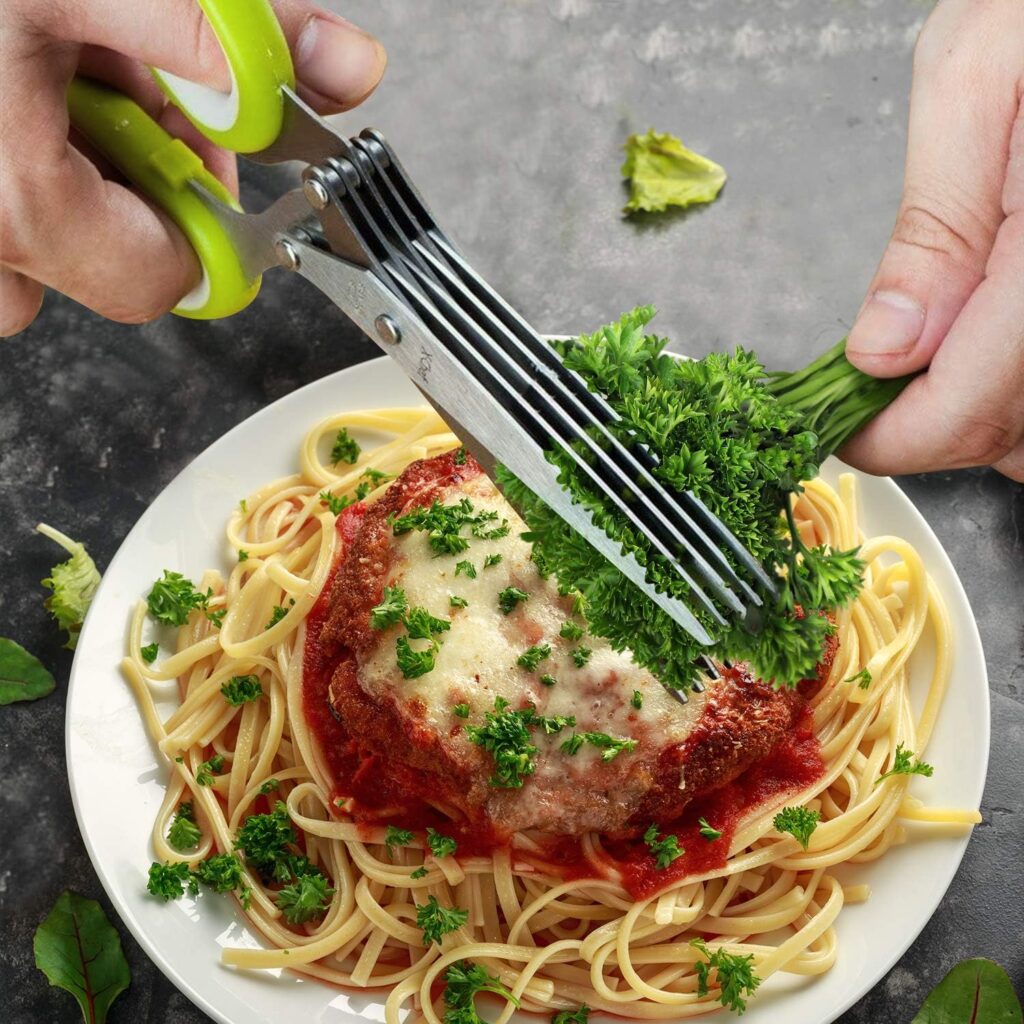
Recommended Product: 5-Blade Herb Scissors
Herb scissors make life so much easier. From basil to parsley to fennel, I just grab my herb scissors and clip off exactly what I need in perfect chopped-size every time. Its quick, efficient, and helps save my hands a lot of work. I’m no spring chicken anymore, so anything that saves my knuckles some aching later is worth every penny to me!
Your Indoor Basil Farm Awaits This Sunday!
Growing Sweet Basil indoors is an incredibly rewarding experience that brings fresh flavor, delightful aroma, and a touch of green beauty into your home. As you’ve seen, it doesn’t require a lot of space or complicated techniques, making it the perfect starter herb for any aspiring indoor gardener. From its culinary versatility to its surprising health benefits, basil truly is a small-space champion.
So, why not make this Sunday the day you start your own “Herbin’ Farm”? With a sunny spot, a suitable pot, good quality soil, and a little attention, you’ll be harvesting your own delicious basil leaves in no time. Imagine the satisfaction of adding your homegrown basil to your next meal – it’s a simple pleasure that makes a big difference!
We hope this “Sunday How-To” has inspired you. What are your favorite ways to use fresh basil? Let us know in the comments below! And be sure to subscribe to SmallSpaceGardenPro.com for more easy weekend gardening projects, tips, and inspiration delivered straight to your inbox. Happy growing!


Leave a Reply